from American Homebrewers Association
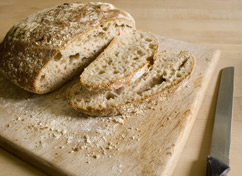
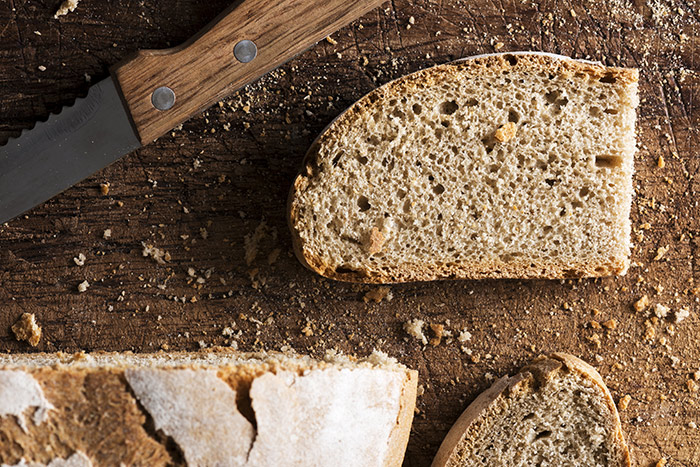
When the mash and the boil are finished and your wort is happily mixing with your yeast in the fermentor, what is there to do with the grains left over from the mash? Don’t just just them away. There is a fun and delicious use for spent grain that is being utilized by homebrewers all over the country, and that is to take your spent grains and make homemade bread with them.
Spent Grains still have nutrients and flavor even after their sugars have been converted for beer. They can easily be used to add character and a personal touch to homemade breads. You can even use them as a complimentary taste for your brew. Just save your grains by freezing them. Then, just as the beer finishes, you can make the bread with the grains that were originally used in the beer. Now you can serve them together to see if the flavors are similar or how they differ.
A quick search on the internet will show you how people are using mashed grains as a base for bread, but here are some things that will help you formulate recipes and get you on your way to making some tasty food.
1. The amount of spent grain should be no more than two thirds of the total dry ingredients. Flour will make up for the rest of the needed grains. The reason for this is that the spent grains do not have any ability to bond with the other ingredients. So if you use too much of it the bread will be crumbly or it may just fall apart.
2. If you don’t mind a few husks just throw the grains right in, If you would prefer to not have them, dry out the grains and either pulverize them in a food processor, or grind them again in your grain mill at a very fine setting.
3. Remember that the spent grains have a good amount of water in them that they soaked up during the mash so take that into account when adding liquids.
4. Be wary of roasted malts, they can add a harsh bitterness to your bread, so either make sure to not overuse them or counter act the bitterness with another flavor like sweetness.
So the next time you are finished making beer and you don’t want to just toss all that extra grain out. Turn the oven on and try making a loaf of bread to see how it turns out!
Here is a simple base recipe you can try or you can tweak to make your own. Happy brewing and then Happy baking!
Brewer’s Bread Recipe
| 3 | cups spent grain (wet, straight from the mash tun) |
| 1.25 | cups warm water |
| .25 | cups sugar |
| 4-5 | cups all purpose flour |
| 1 | tspn. salt |
| 1 | egg beaten |
| .25 | cups milk |
| 1 | packet dry active bakers yeast |
Instructions:
- Mix yeast water and sugar in a bowl to activate yeast. Allow 30 min for yeast to activate.
- Add yeast starter, salt, egg, spent grain, and milk in a bowl and slowely add flour.
- Knead dough until it is smooth and no longer sticky.
- Place dough in a large greased bowl and cover it with a towel. Wait for dough to rise and double in size then punch down the dough.
- Split your dough into the desired amount of loaves and place on a cookie sheet over a thin layer of cornmeal.
- Allow loaves to rise again and then score the loaves with a knife.
- Bake at 375ºF for 35 minutes or until the bread is desired color and a knife comes out clean after being inserted into the center.
How to Make Spent Grain Flour

All-grain brewers have many creative options to put their spent grains to good use instead of sentencing them to the trash.
Spent grains lend themselves well to compost piles, dog treats, farm animal feed, baked goods and other delicious food items. The trouble is, spent grain starts to go bad soon after it’s removed from the mash water. You may have noticed a rotten smell in your kitchen the next day after brewing if you didn’t take the trash out.
I always go into a brew day with the good intentions of putting my grains to use in food items I can share with friends, but to be honest the last thing I want to do after a six-hour brew day is bake. So much to my chagrin, the grains tend to end up on my neighbor’s compost pile. At least it’s more useful there than in the dumpster!

Flour Power
I was excited to find out there is a way to put spent grains to good use in food items without having to bake with it immediately after brewing. The solution is spent grain flour.
It still requires some substantial time on brewday, but the effort is minimal and well worth it. The result is a whole wheat-like flour that can be substituted as a portion of the flour in your usual recipes. And it keeps well!
The entire process takes about six to seven hours, but most of that time is spent drying the grains at low heat in the oven, with an occasional stir every few hours. Here’s how to make spent grain flour:
- Set your oven to its lowest heat setting. Around 150-175°F (65-79°C) is ideal.
- After the mash is complete, be sure all the liquid from your mash tun has been lautered or allow your grain bag to drip nearly dry.
- Once the grains are cool enough to handle, squeeze as much liquid from the grains as possible. If using a mash tun, it can be helpful to scoop a portion of saturated grains into a muslin bag and squeezing for easy water extraction.
- On a large, clean cookie sheet, spread out the grains evenly (about 1/4-1/2 inches thick). Do not pack the grains down. They should be relatively loose.
- Once the oven is preheated, place the cookie sheet inside and let dry for about six to seven hours.
- At the two-hour and four-hour mark, stir and rake the grains using a spatula or similar kitchen utensil. In the last two hours of the drying process as the grains get close to being fully dried, rake the grains more often to prevent scorching and uneven drying.
- Once the grains look and feel as dry as they were when you purchased them at the homebrew shop, they are ready to be processed. You should be able to run the grains through your hands without any sticking. If you are feeling exceptionally unmotivated, once the grains are dried they can be saved in an airtight container if you wish to do the processing the next day.
- Scoop in a portion of grains into a food processor and grind for about three minutes. You may need to stop and stir the grains a bit to ensure the grind is even. A blender, coffee grinder or spice grinder can be used in stead of a food processor, but may take a bit more effort.
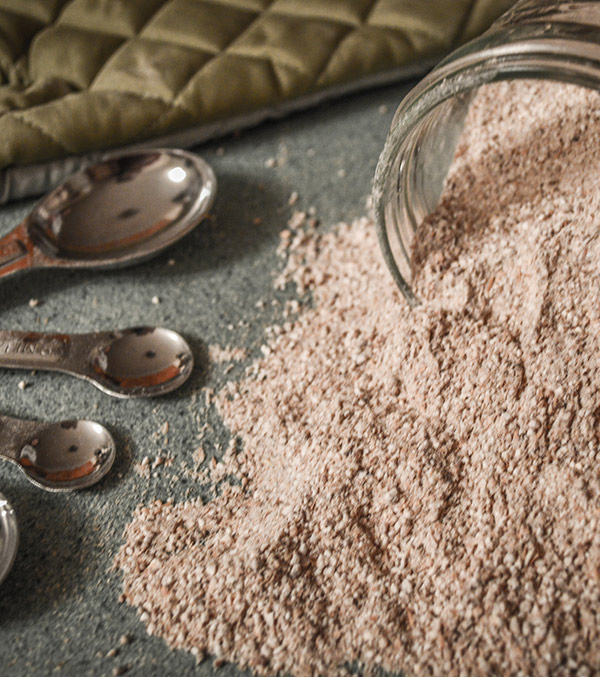
- The final product should be about the consistency of wheat flour. It’ll be heavier and more coarse than all-purpose flour, but should still be fairly fine. Don’t be surprised if there is the occasionally large piece grain or husk.
- Store the spent grain flour in airtight containers and place in your cupboard for future use. It is important to ensure the flour is completely dry (as it should have been before the food processing step) to prevent any chance of the flour rotting.
That’s it! Next time you are making a recipe that uses whole wheat flour, substitute your homemade spent grain flour for up to half the quantity called for. For example, a recipe calling for three cups of whole-wheat flour should use up to 1.5 cups of spent grain flour and use the regular flour to make up the rest.