You may have noticed that your context menu (the menu which appears when you right-click an item on the desktop) is not a static entry. Instead it changes based on the software you add or remove. To a layman it appears you have relatively little control over this, but you can in fact customize the context menu as you’d like with third-party software. Here’s how to do it – and a handful of awesome shortcuts to add.
How To Edit The Context Menu
Context menu items can be changed by directly editing the Windows Registry, which is how they appear in the first place. This method is too difficult for most users to consider, however, and providing examples is challenging because the instructions can vary a bit from one item to the next. You’ll be better served by grabbing a software tool that can perform this same task.

My personal favorite for this job is Right Click Enhancer by RBSoft. This tool can be used to make a variety of changes to your context menu, and it’s entirely free. Check out our Right Click Enhancer review for instructions on how to use it. Some of the recommendations in this article are only possible through Right Click Enhancer, so while you can use other software you won’t be able to follow my instructions.
Note that the adware warning in that review doesn’t apply at this time; I saw no such shenanigans when I used it.
I recommend getting rid of any junk items in your context menu before adding more. If you’ve been using your Windows rig for a few years there’s a very good chance you have broken or unwanted items lurking there. Tossing them before you add more will help you organize your menu. You use Right Click Enhancer for this or you can try a tool like CCleaner.
With that said, let’s get to the shortcuts!
Best Shortcuts to Add
1. Copy Content
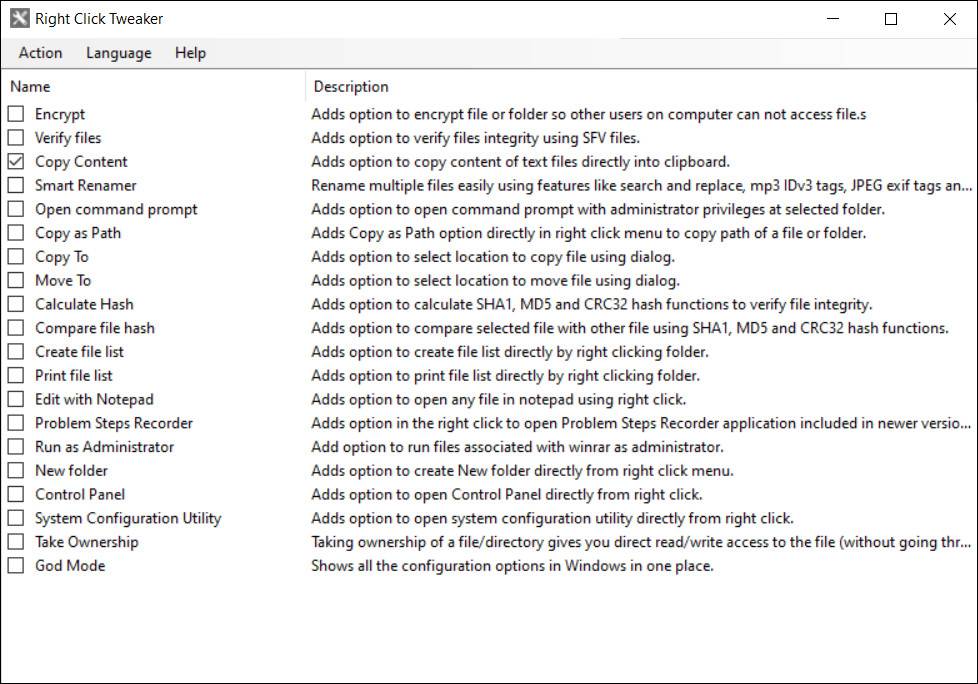
This context option available through Right Click Tweaker (a program within Right Click Enhancer) can automatically copy the content of bat, cmd, css, html, js, log, reg, rtf, txt, cs and vbs file types. In other words, you can copy the content of the file without moving the file, opening the file, or copying the entire file. This is a useful time saver for anyone who works with raw files frequently.
2. Run As Administrator
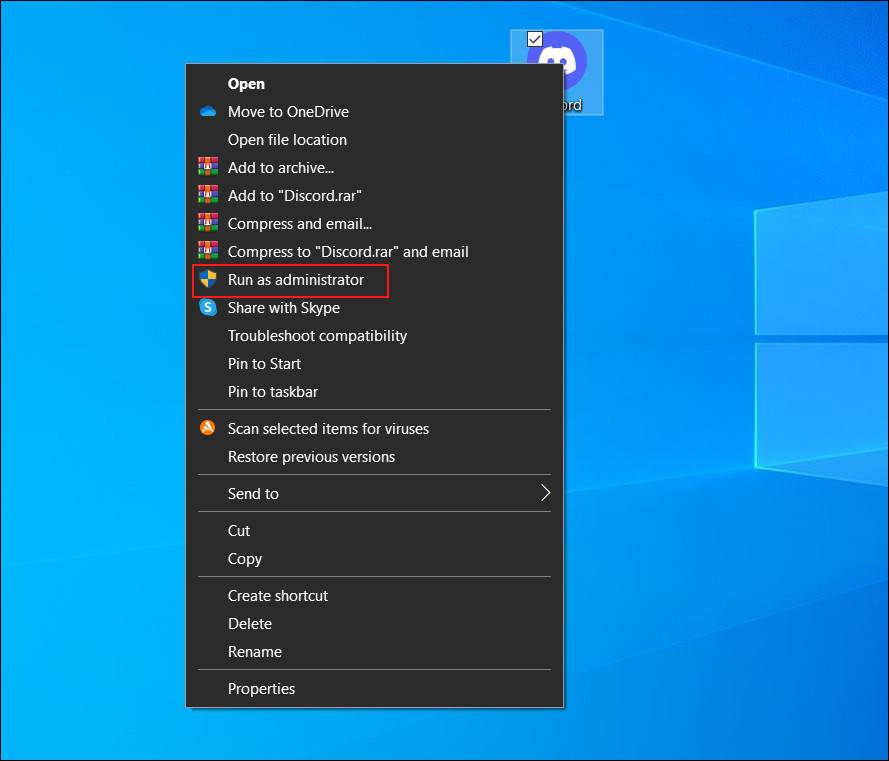
Windows executable files normally have a “Run as administrator” option when you right-click them, but other files don’t offer it. This can be an annoyance if you’re trying to run archive files or extract them into protected folders. With this option enabled you can side-step that problem entirely.
3. Take Ownership
This context add-on is a convenient way to transfer file and folder ownership rights between accounts on your machine. Normally this would be done through the Properties menu, but adding the Take Ownership command through Right Click Tweaker shortens the task to just two clicks. This is great if your machine has more than one frequently used account.
4. God Mode
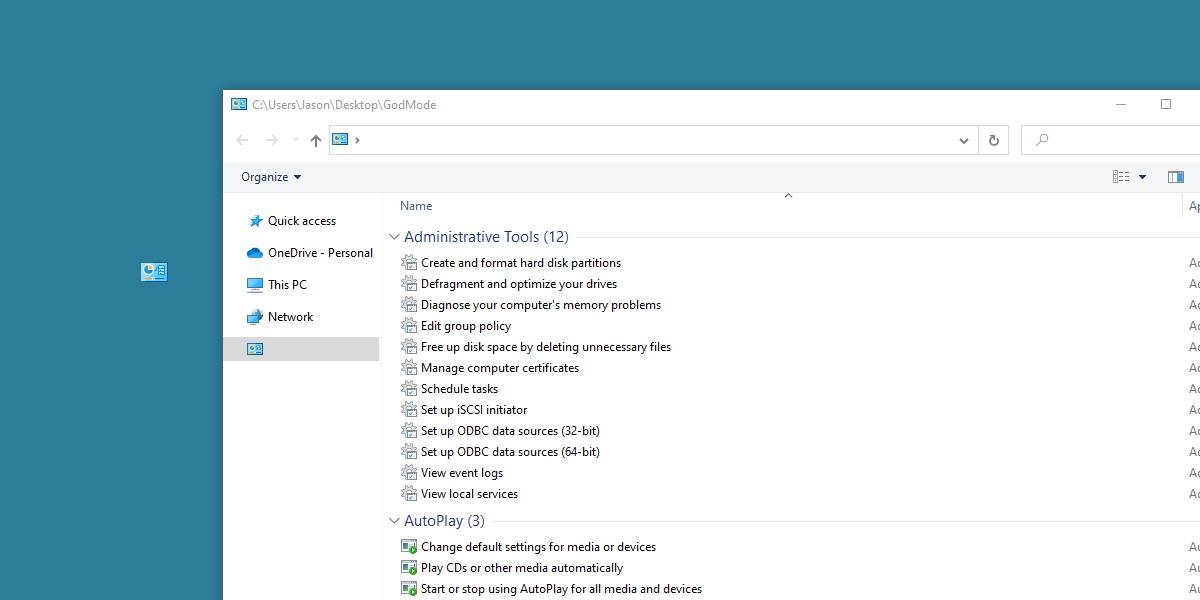
This cleverly named addition tacks a God Mode option to the context menu that appears when you right-click an empty portion of the desktop. The so-called God Mode is really just a list of practically every utility and options menu Windows has. A bit disappointing, perhaps, but useful if you don’t want to use Windows Search or have forgotten the exact name of the menu you’re looking for.
5. Add File Types To “New” Menu
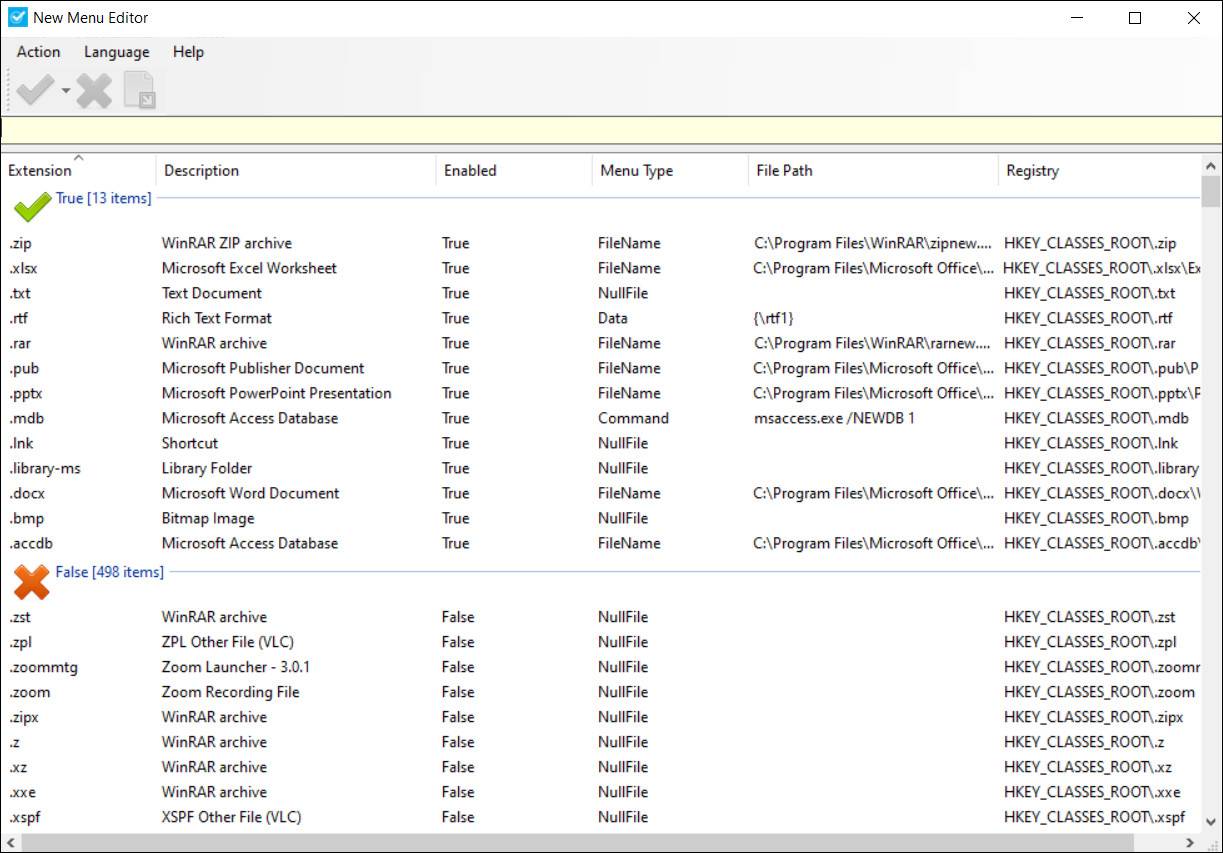
If you right-click an empty area of your desktop or an explorer menu you’ll see a “New” entry. Hover over that and you’ll see some file types you can create immediately. Right Click Enhancer has a tool called New Menu Editor that will let you edit what appears there.
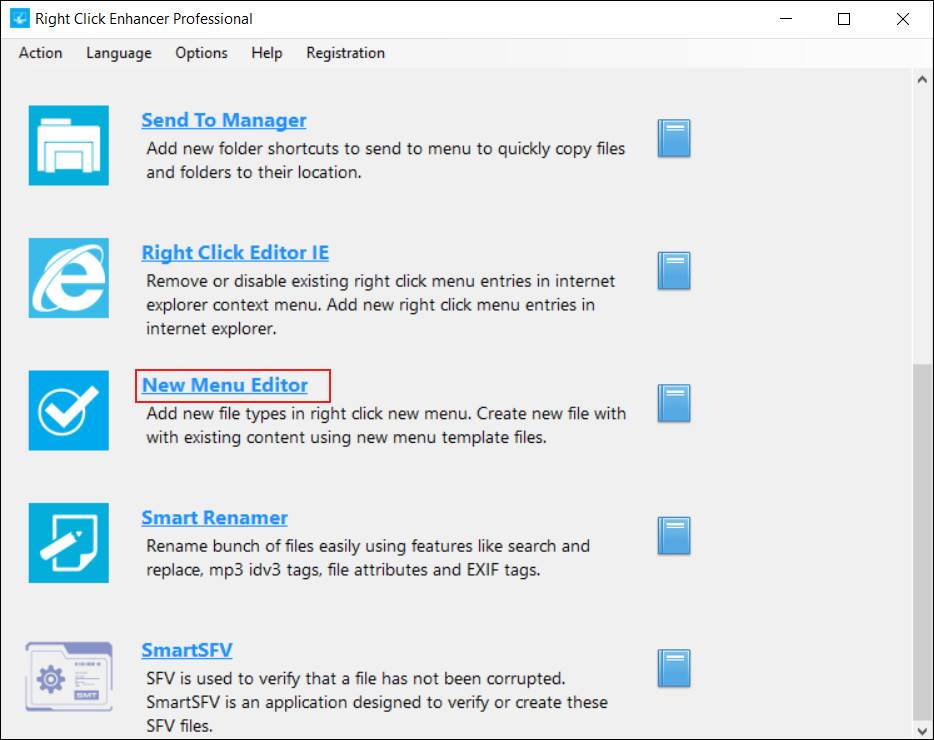
Just open the New Menu Editor and view the list of what’s included (marked as true) and what’s not (marked as false). Every file type your computer has in its registry is an option, so there are plenty of choices.
6. Add New “Send To” Options
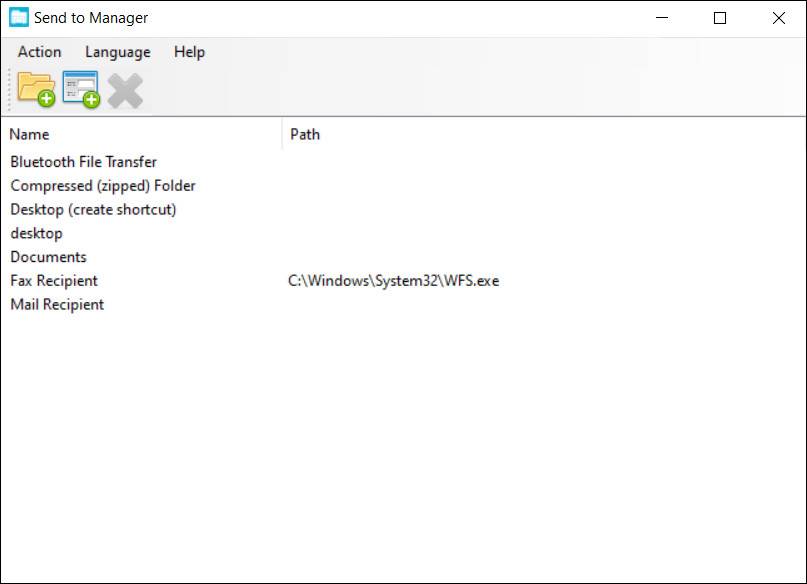
Another context menu selection that provides multiple options is “Send To,” which appears whenever you right-click a file. By default you only have a handful of choices, but with the Send To Manager in Right Click Enhancer you can add more. You can add both folders and files (including executable files). You can use this to send files directly to a specific .zip or .rar file, for example, or to open files in your web browser.
7. Add Websites
If you have Right Click Enhancer Pro, a $9.99 upgrade (with a free trial available), you can add websites to your context menu. First, create a new Internet shortcut that points to the website. Then open the Right Click Shortcuts Creator and add a new file. Select the shortcut you created. It’s name may not be properly recognized, but you can re-name it within this editor. You also will have to select your web browser as the correct program to open the shortcut the first time you use any shortcut of this type.
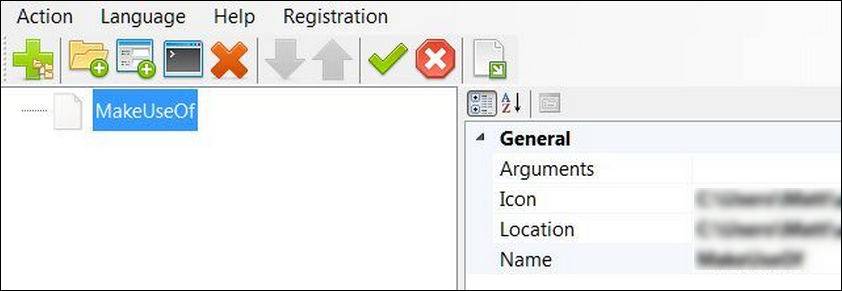
Adding a website may seem odd, but it can be great if you use online productivity tools. Rather than having them open constantly in your browser, or opening them individually in your browser when needed, you can use this technique to launch them directly from your context menu. It’s also useful for students learning to code who want to quickly launch a reference document when needed.
Note that this works with both real websites and local documents you can open in a browser. You could open a locally hosted wiki with this trick, for example.
8. Add Applications or Folders
You can also use the Right Click Shortcuts Creator to add applications of your choice to your context menu. Alternatively, you can add a folder full of applications using the Add Folder command in this editor.
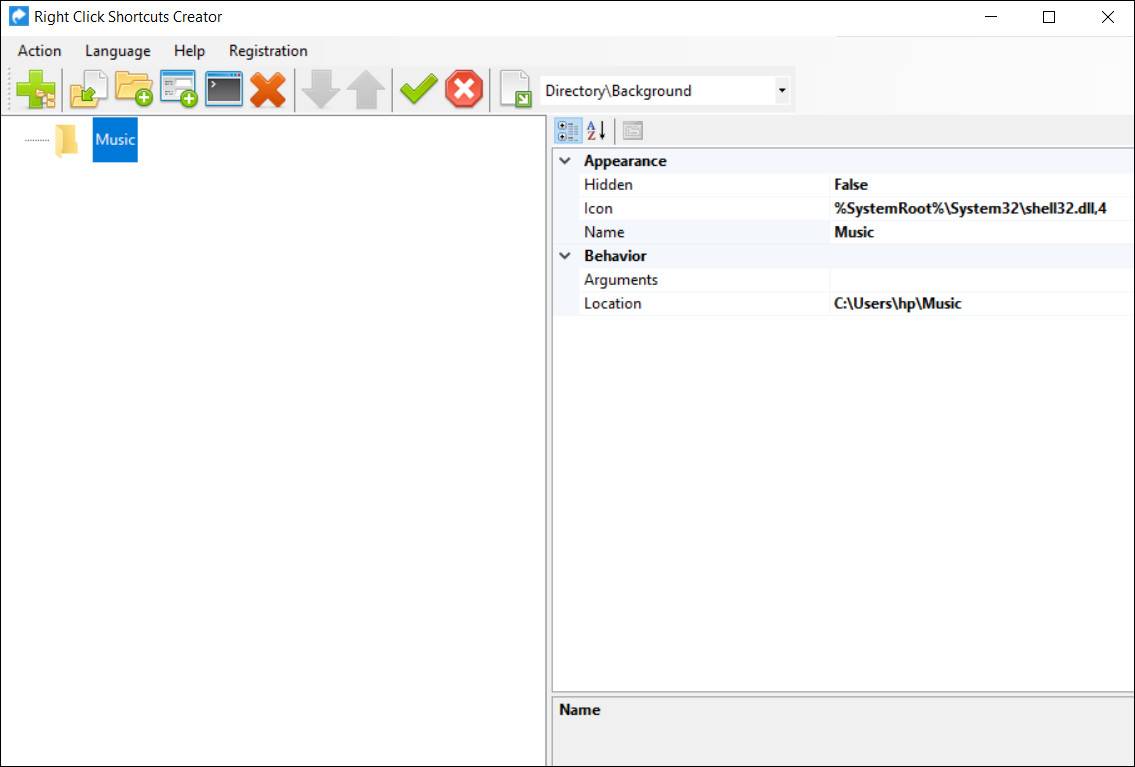
Both options provide benefits similar to adding a website; you’ll be able to open the program or folder instantly from any Explorer window or your desktop. You could potentially add your entire Start Menu in this way, though it might not be the best idea.
9. Add Windows Features
A number of Windows Features can be added using Right Click Shortcuts Creator. However, the shortcut trick doesn’t work for this; a permissions error will appear when you try it. So instead you need to use a different feature called Add Custom Command. Its icon looks like a tiny command line, and is just right of the Add Application icon.
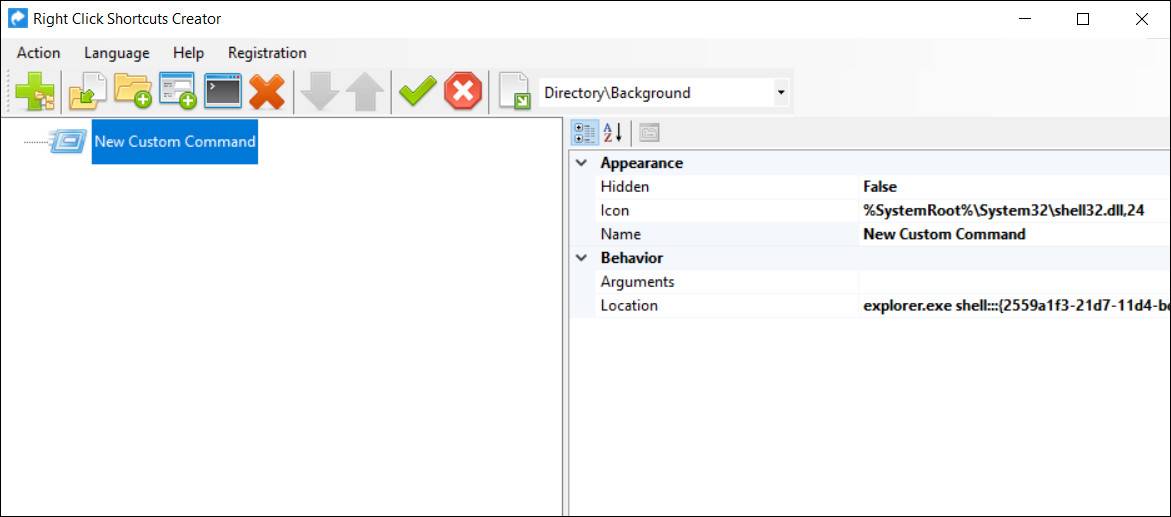
When you click this icon you’ll see a New Custom Command created in the left pane. Click it to open its details in the right pane. There you’ll see “location” which by default points to the Windows command line. However, you can change it to any shell location you desire. I recommend checking this list of shell commands as a reference. Note that the list only shows the shell location, so you’ll have to add the detail “explorer.exe” in front of each. In the screenshot above, for example, I’ve added Folder Options to my context menu.
10. Organize Context Menu Items
Now you know how to add applications and websites to your context menu, but adding numerous items can quickly bloat your menu to unusable proportions. Fortunately, you can solve this in the Right Click Shortcuts Creator by using the sub-menu option (the big plus on the far right).
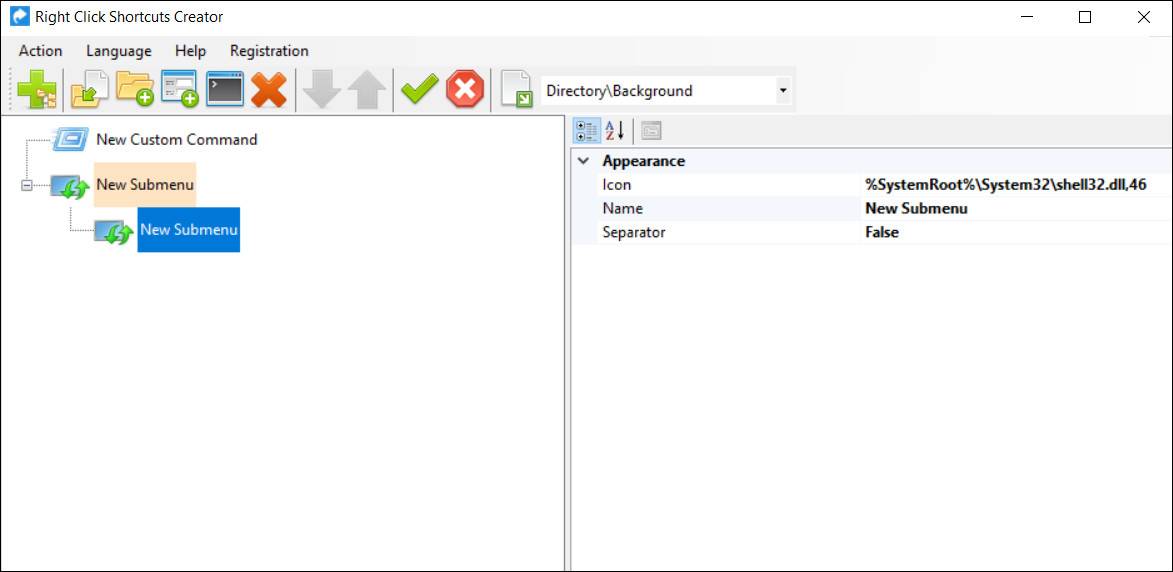
The software makes this an easy process. Sub-menus are organized via drag-and-drop, so you just drag the websites, software and other items you’re organizing into their appropriate location. You can further organize the look of these menus by changing names and icons. Just click on a sub-menu or an item in the menu and have a look at the Icon and Name fields to the right. Each of these can be changed to your preference.
Does A Custom Right-Click Menu Make You More Productive?
These 10 right-click menu items can, used creatively, make many features quickly accessible. With proper use of sub-menus you could defeat the need for the start menu or start screen by adding all of your commonly used applications to your context menu instead. While this is an unusual technique, it provides immediate access to programs, features and websites from any open Explorer window or your desktop. Convenient? You bet!
from makeUseOf